Wax On Wax Off: How to Remove Wax from Your Candle Jar
You read wax on, wax off and you immediately think of Karate Kid, right? We get it. If you remember, Mr. Miyagi walked Daniel through several life lessons during their time together. Wax on, wax off was how he taught Daniel to wax his cars.
There is always something to learn in hard work. We like to think that with patience, a product or service contributes positively to your life, but when you love something as much as we curate our candles, we want the process to continue after the candle has burned out.
Wax on, wax off is our way of telling you how to remove wax from your candle jar, so your jar can have multiple uses when the candle is gone.
See what we did there. Mr. Miyagi would be proud.
Wax On, Wax Off- From Your Candle Jar
Removing wax from your candle jar is as easy as following a few steps. We are about recycling and can’t accept throwing away a perfectly reusable jar. Especially when there are so many ways to reuse your candle jar.
So, follow me as we go through this blog post, step-by-step to clean wax from your jar and make it ready for its next purpose.
Rubbing alcohol is your friend
Any time you are working with a semi-solid like wax and glue, alcohol is not only the perfect solvent, but it cleans nicely, as well.
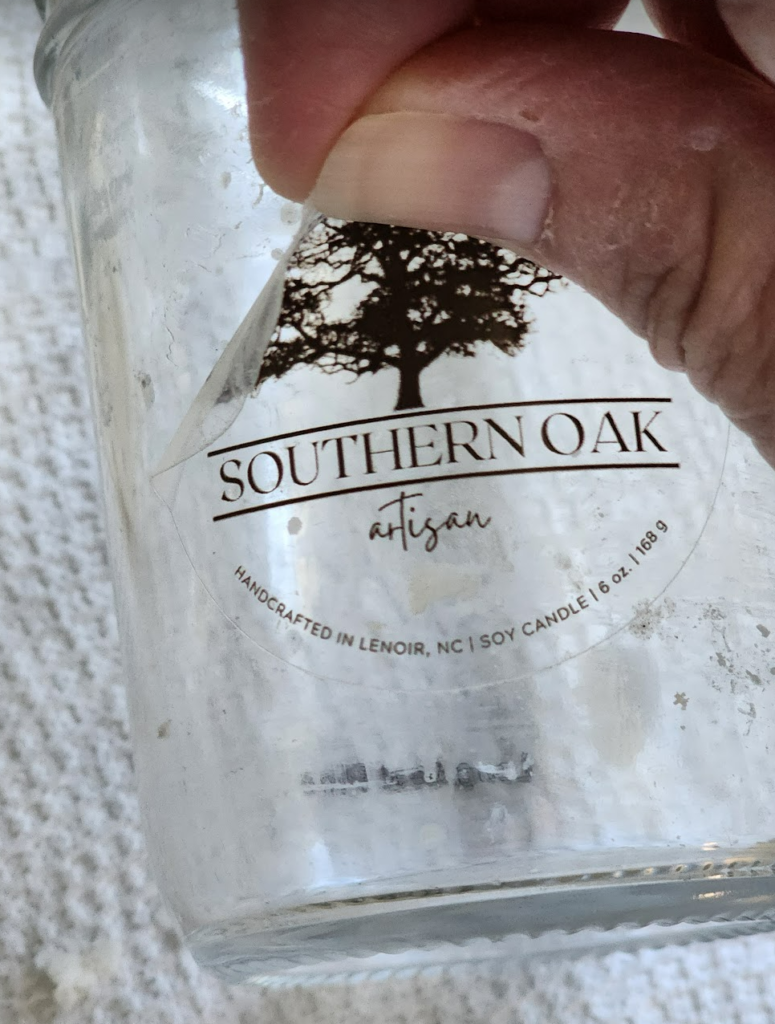
Remove the labels
Heat from a burning candle can bake a label onto the jar, but ours are fairly easy to remove. Use your fingernail to loosen the edge, and it will most likely pull right off. If not, apply a small amount of alcohol to the edge with a paper towel.
The alcohol works to break down glue from the label. Our label is so beautiful and versatile, that you may decide you like it and want to keep it. The small candle-identifying label on the back will easily peel, but the warning label on the bottom may be more stubborn. That’s where the alcohol will come in handy.
Ice Ice Baby
Yeah, we went there. After removing the labels, take some ice- doesn’t matter if it is cubed, shaved, or crushed and fill the jar with it.
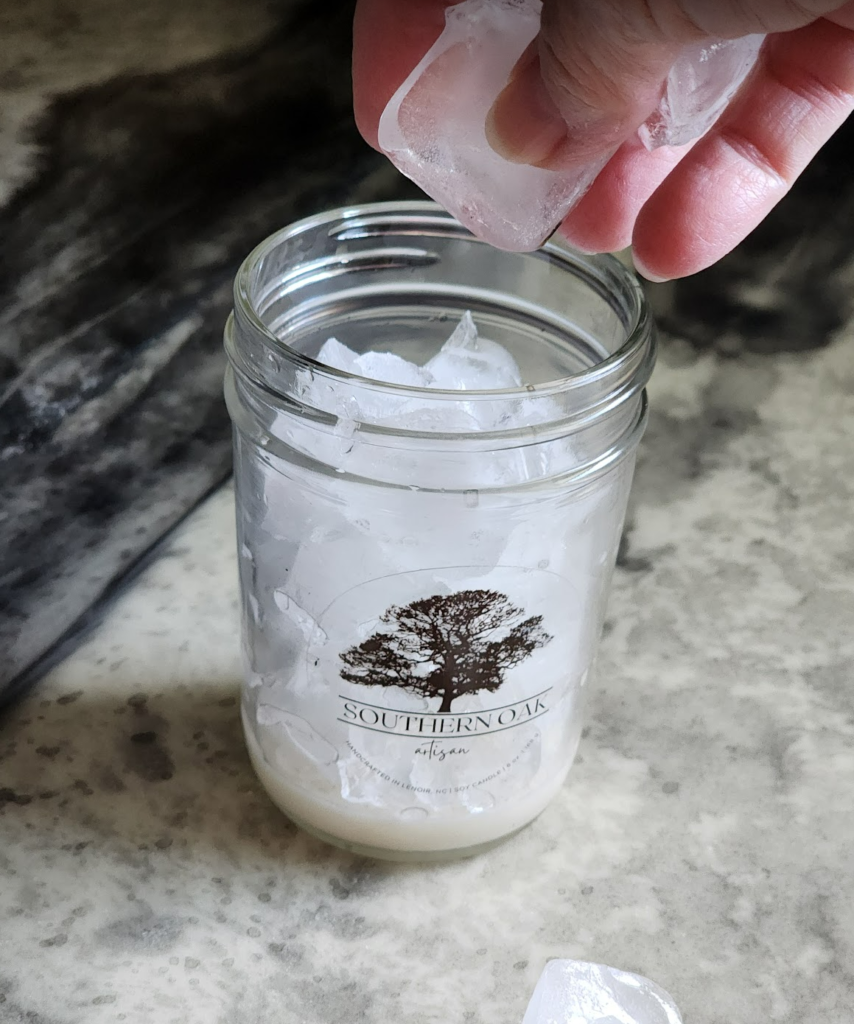
Pour in water to the top. Now wait. Once the ice has melted, pour out the water.
Help the wax move out
No one likes to help anyone move, but in this case, it won’t be that difficult. Using a butter knife, to loosen the leftover wax from the edge of the jar. With a gentle nudge, the wax should pop right out. If not, fill it with ice and repeat the above steps.
It is important the wax is ice cold to pop out easily.
Say bye to the wick holder
Once the wax is out, you will find the metal wick holder remains in the bottom of the jar. You can use a variety of tools to remove it. I have used needle nose pliers, but I find it as easy, if not easier, to use kitchen shears.
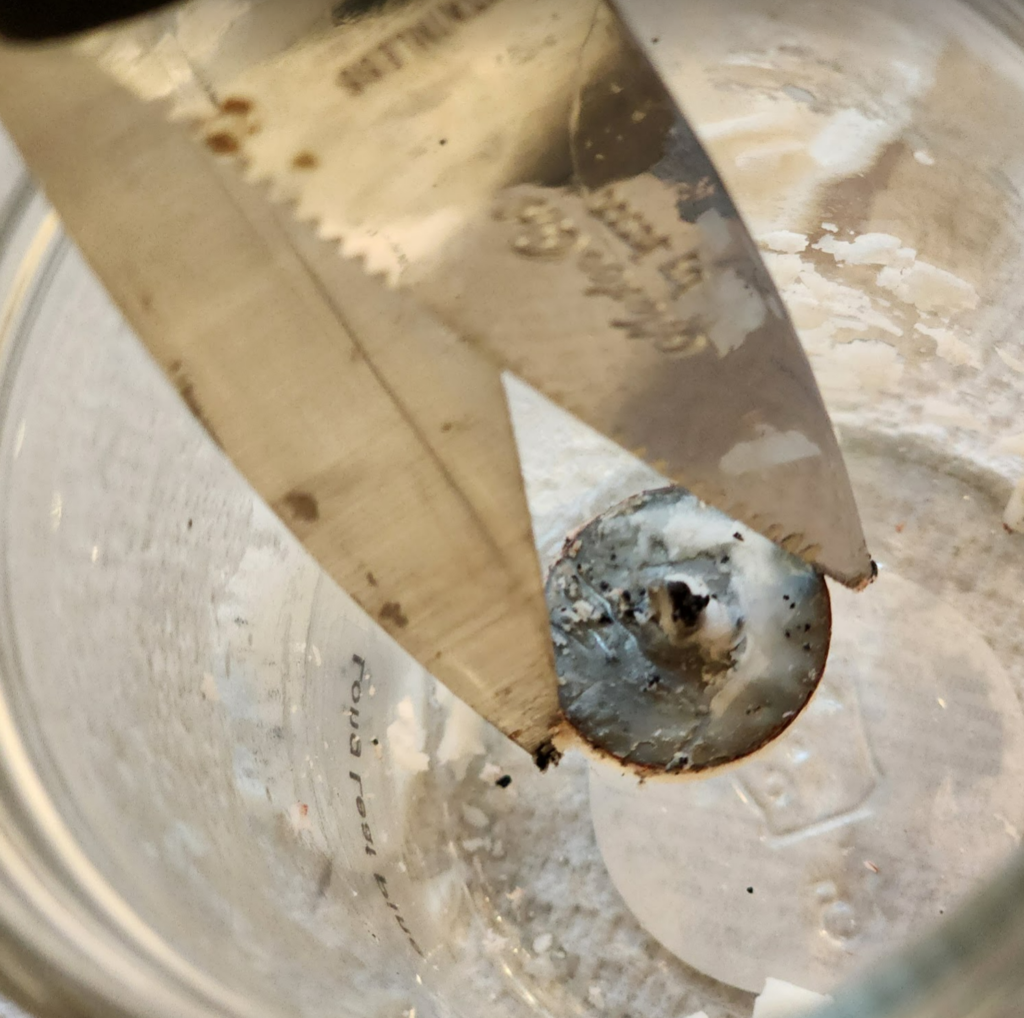
Grab the metal edges and gently rock back and forth until it comes off. In the event, it won’t release, pour a bit of alcohol in and let it sit for a bit. Once again, the alcohol will do its magic and dissolve the glue making it easy to remove the metal tab.
Wax on, wax off
Now you have everything out of and off of the jar. Using a paper towel, gently wipe the inside of the jar to loosen any dirt or dust. Use your best friend, alcohol on your paper towel, and wipe the inside of the jar.
You may need to make a few passes at the wax, but it’s pretty easy to come off. Once that wax is wiped away, take a final pass on the outside with the alcohol towel and voila you have a perfectly reusable jar.

*Note: Should you intend to use the jar for food, run it through a dishwasher, or wash it by hand before filling.

How do you plan on using your jar? Be sure to check out the 28 Ways to Reuse Your Candle Jar. Did we miss a way you plan on using yours? Let us know!