Why Your Candle Keeps Tunneling (And How to Fix It)

There is nothing more frustrating than lighting a new candle only to watch it burn straight down the middle. Instead of melting evenly across the top, the wax forms a deep hole around the wick and leaves thick wax along the jar’s edges.
If you have ever experienced this, you are not alone. It is one of the most common candle issues people run into.
The good news is that candle tunneling is usually easy to prevent and often fixable if it has already started.
Candle tunneling
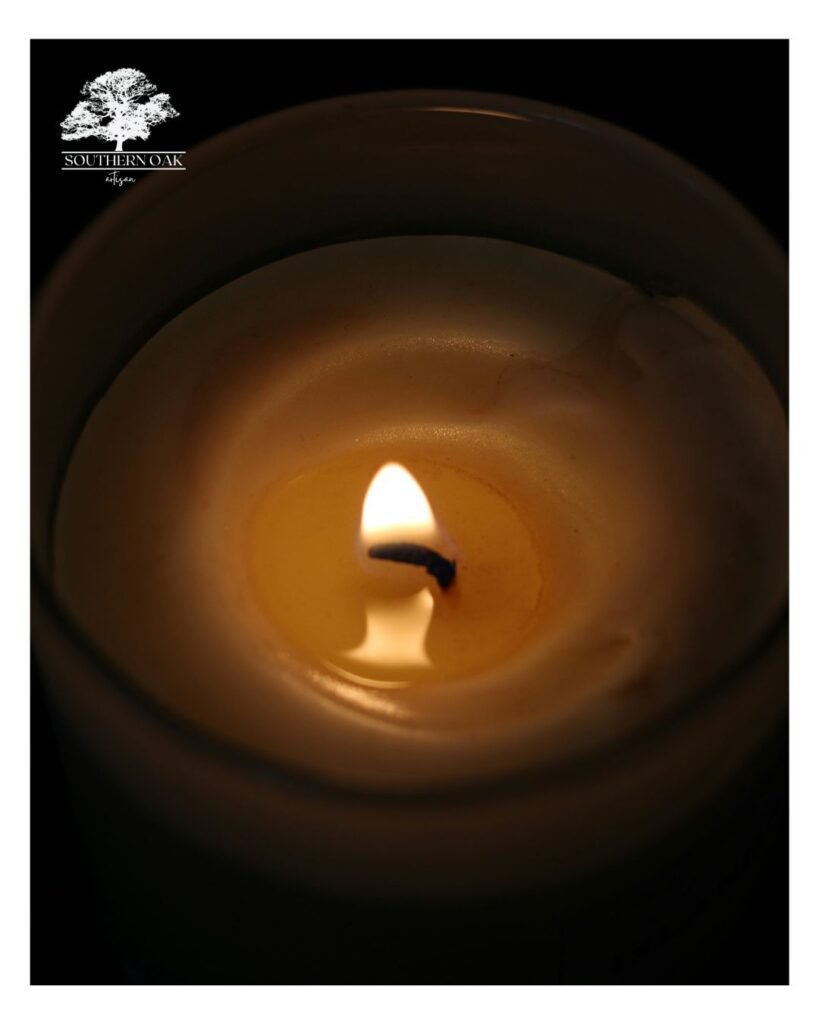
Candle tunneling happens when the wax melts straight down instead of melting evenly across the surface. Over time, this creates a narrow tunnel around the wick while the rest of the wax stays untouched along the sides of the container.
Not only does it look strange, it can shorten the life of your candle because a large amount of wax never gets used.
Most of the time, tunneling has nothing to do with the quality of the candle itself. It usually comes down to how the candle is burned during its first few uses.
Why candle tunneling happens
The most common cause of candle tunneling is a short first burn. When you light a candle for the first time, the wax needs enough time to melt all the way to the edges of the container. This melted layer is called the melt pool.
If the candle is blown out before the melt pool reaches the edges, the wax remembers that smaller burn pattern. The next time you light it, the flame will continue burning within that same narrow path, slowly digging deeper instead of widening out.

Other factors can also contribute to tunneling, including:
- Burning a candle for very short periods of time
- Drafty areas that affect the flame
- A wick that is not trimmed properly
- Lighting a candle when the wax is already uneven
How to prevent candle tunneling
Preventing tunneling is surprisingly simple. The key is patience during the first burn.
When lighting a new candle, allow it to burn long enough for the wax to melt across the entire surface. For most container candles, this can take anywhere from one to three hours depending on the size of the jar.
Once the wax has melted evenly to the edges, the candle will be more likely to continue burning evenly during future uses.
A few additional tips can help keep your candle burning properly:
Trim the wick to about one quarter inch before lighting.
Keep candles away from open windows or strong airflow.
Avoid burning a candle for only a few minutes at a time.
Let the wax reset fully before relighting.
How to fix a tunneled candle
If tunneling has already started, there are still ways to help your candle recover.
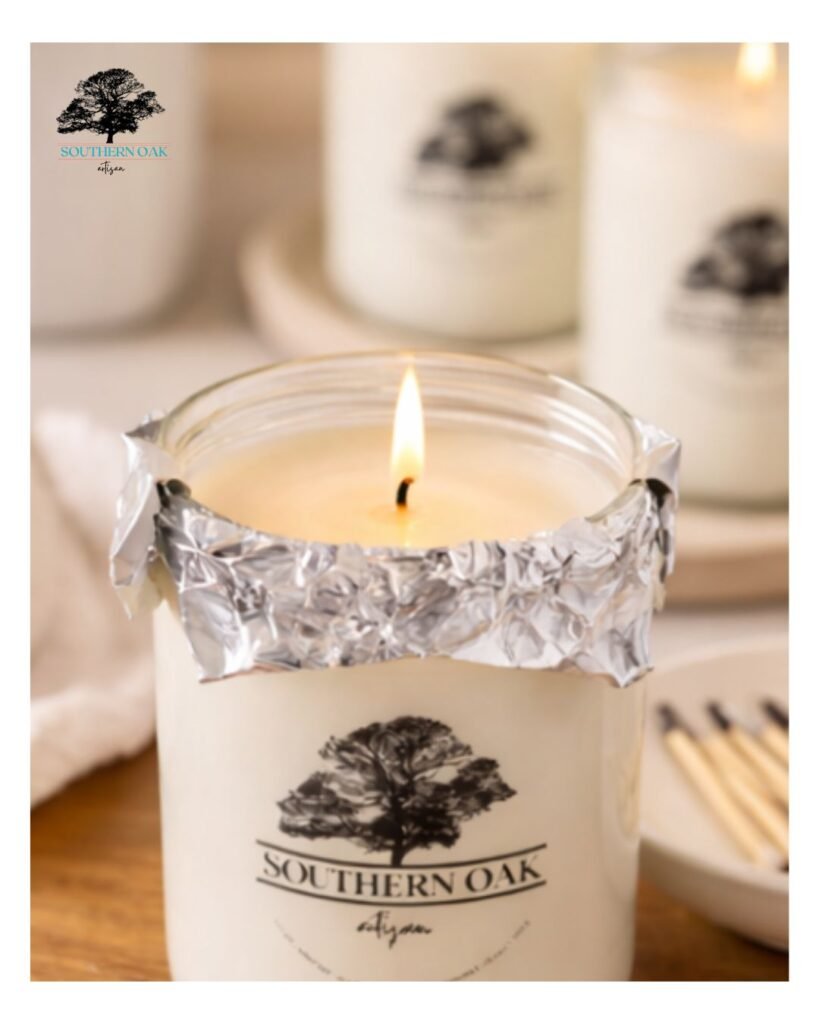
One simple method is to carefully wrap a small piece of aluminum foil around the top edge of the candle, leaving a hole in the center for the flame. This helps trap heat inside the container and encourages the outer wax to melt.
Another option is to let the candle burn longer than usual during its next use so the heat has time to soften the wax along the sides.
In some cases, gently leveling the surface with a spoon while the wax is warm can also help guide the candle back to a more even burn.
Getting the most from your candle
Candles are meant to be enjoyed slowly. With the right care, a well-made soy candle can burn evenly for many hours and give you the full fragrance experience from start to finish.
Taking a little extra time during the first burn can make all the difference. Once the wax melts evenly, your candle will continue to reward you with a smooth burn and a longer life.